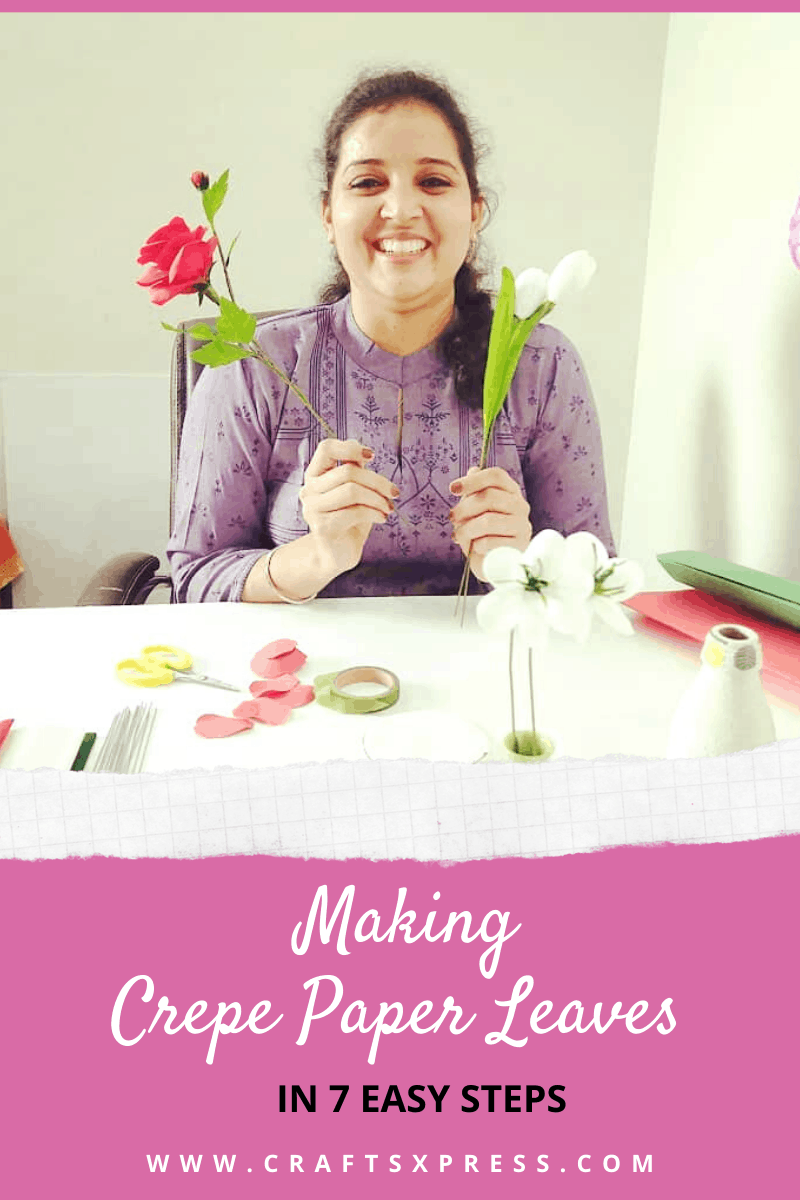
“How to make crepe paper leaves” – If you have been wanting to make them for a while, you’ve come to the right place. I have been a DIY enthusiast from the past many years now.
Making leaves from crepe paper is a fairly easy task. With minimal effort and no expertise, you can create beautiful leaves that can be used in a number of ways.
In my blog, I will take you along the step by step method of making crepe paper leaves. These are simple steps and trust me, you will be able to do it even if you have no prior crafting experience.
How to Make Crepe Paper Leaves: A Step by Step Guide
There are endless number of ways in which paper leaves can be made. There are different types of paper that can be used and many shapes that the leaves can be given.
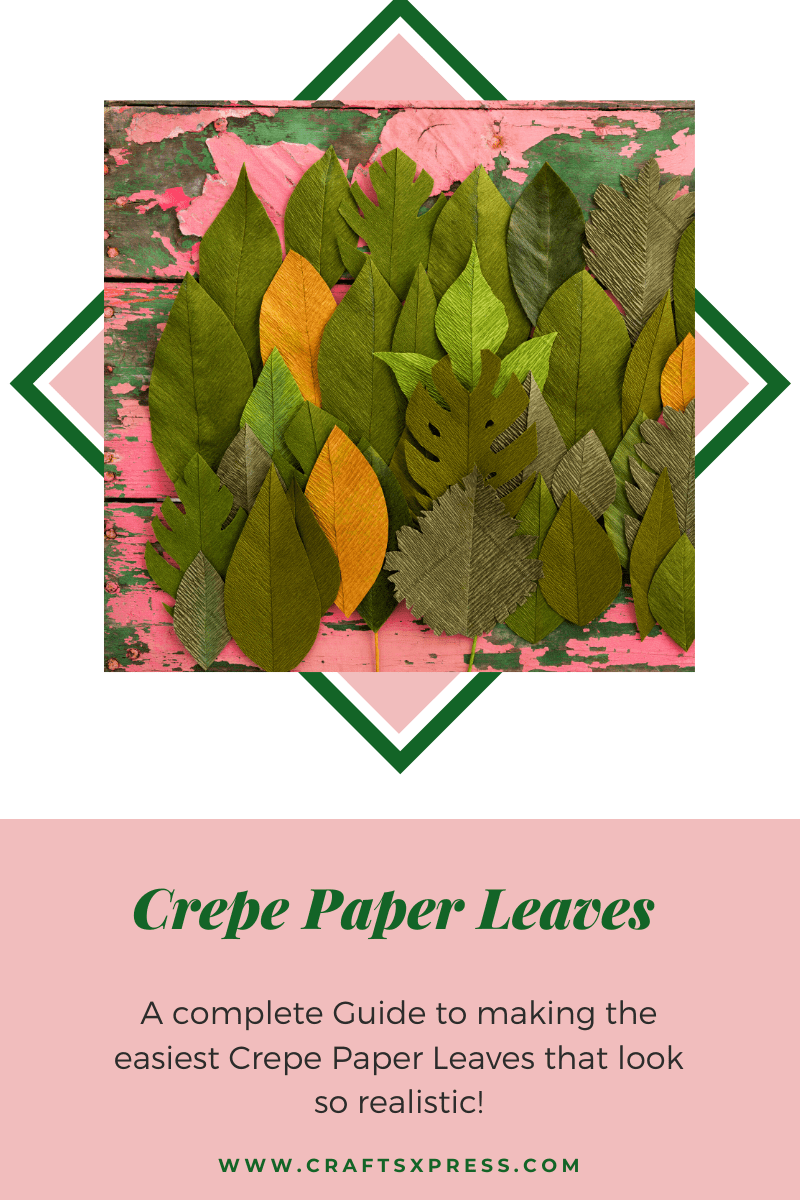
Crepe paper is one of the best paper to make leaves when it comes to DIY crafts. This is because of the texture of the paper which gives it a realistic look.
In my current blog, I will be teaching you the simplest of ways of making crepe paper leaves. The method is given in a follow-along step wise manner and you can easily make these leaves in no time.
Once the crepe paper leaves are ready, you can use them in different ways. You can use them for decoration or attach them to roses or other paper flowers. So, without any further delay, let’s get started with the supplies needed and the step wise method of making these leaves.
6 Essential Supplies Needed for Making Crepe Paper Leaves
The first step in any craft work is gathering all the essential supplies. Make it a habit that whenever you sit down for a craft project, get all your material ready in front of you.
Trust, me you don’t want to be running around in the middle to find something that you need. Therefore, learn to keep things handy and ready.
You need very limited supplies for making crepe paper leaves. Here are the things you will need to make these beautiful leaves –
| 1.Green Crepe Paper |
| 2.A pair of Scissors |
| 3.Pencil |
| 4.Glue |
| 5.Steel Ruler / Scale |
| 6.Green coloured pencil colour/crayon (optional) |
These supplies will be easily available at your nearest stationery store. If they aren’t you can always order them online. Amazon is a decent place for ordering them. Purchase a lot of supplies at once.
How to Make Crepe Paper Leaves in 7 Easy-to-follow Steps
As I had pointed out earlier, there are a number of ways of making leaves from crepe paper. You can make leaves of different sizes and different shapes. Although the material needed remains the same, the method of making the leaves will vary slightly for each one of them.
This blog is dedicated exclusively dedicated to those people who are trying out crafts for the very first time.
I am going to be making “ovoid” shaped leaves. These leaves are the most common ones you see on the plants and trees that grow commonly at or around your house
So, get all the supplies I listed above and let us begin –
Step 1: Draw vertical lines on crepe paper sheet to make the leaves
Crepe paper generally comes as rolled sheets. The sizes can vary anywhere between A4 size to huge rolls of 20 meters.
The very first task is to straighten out the sheet and then with the help of the ruler, draw vertical lines on the sheet.
The breadth of the stripe depends on the size of the leaf you want.
Let me give you an example, So, if you want your leaf to be 5 inches in length, draw lines on the sheet that are at least 6 inches apart.
Step 2: Cut the crepe paper into vertical strips depending on the size of the leaves you want
Once you have drawn the vertical lines, cut them into vertical stripes. With one crepe paper stripe, you can make as 4-8 leaves or more.
So, if you want more leaves, cut out more stripes.
Step 3: Fold the crepe paper stripe, more folds equal more leaves
The next step is to fold the cut crepe paper stripes. Start with a fold from one end to another. Then fold it again from one end to another.
You will get as many leaves as the number of times you have folded. So, if you folded it 4 times, you will get 4 leaves and if you folded 6 times, you will get 6 leaves.
Also, the more you fold, the less broad the leaves will be. Therefore, if you want broader leaves, make fewer folds and if you want thinner leaves, fold the sheet more.
Step 4: Draw half a leaf’s outline on the folded crepe paper
Once you have the folded crepe paper stripe ready, it’s time to draw the leaf outline.
Now, remember, you don’t have to draw the entire leaf. Take a pencil and on the closed end of the paper, draw the shape.
Draw the shape similar to the shape of a bracket “(“from one end of the closed side to another. Do not draw the shape on the open side.
Step 5: Cut the crepe paper at the outline to make the leaves
This step is very simple. With a pair of scissors, carefully cut the paper on the outline.
If your folds are too thick, you have to be extra careful.
Step 6: Open the paper and separate out the crepe paper leaves
Remove the extra paper and open the cut design. Open the design at the fold. What you have are beautiful identical-looking crepe paper leaves.
Step 7: Draw the veins of the crepe paper leaves for a more realistic look
This step is completely optional. In order to give your leaves a more realistic look, you can go a step further and raw some veins on the leaf.
I like to use a lighter or darker pencil to draw out veins on the leaves. So, if I have dark green leaves, I use a light green pencil to draw veins. If the leaves are light green, I draw veins with a dark green pencil.
5 Handy Tips for beginners making crepe paper leaves
Since this blog on making crepe paper leaves is dedicated to beginners, I would love to share my insider tips with you all as a DIY artist.
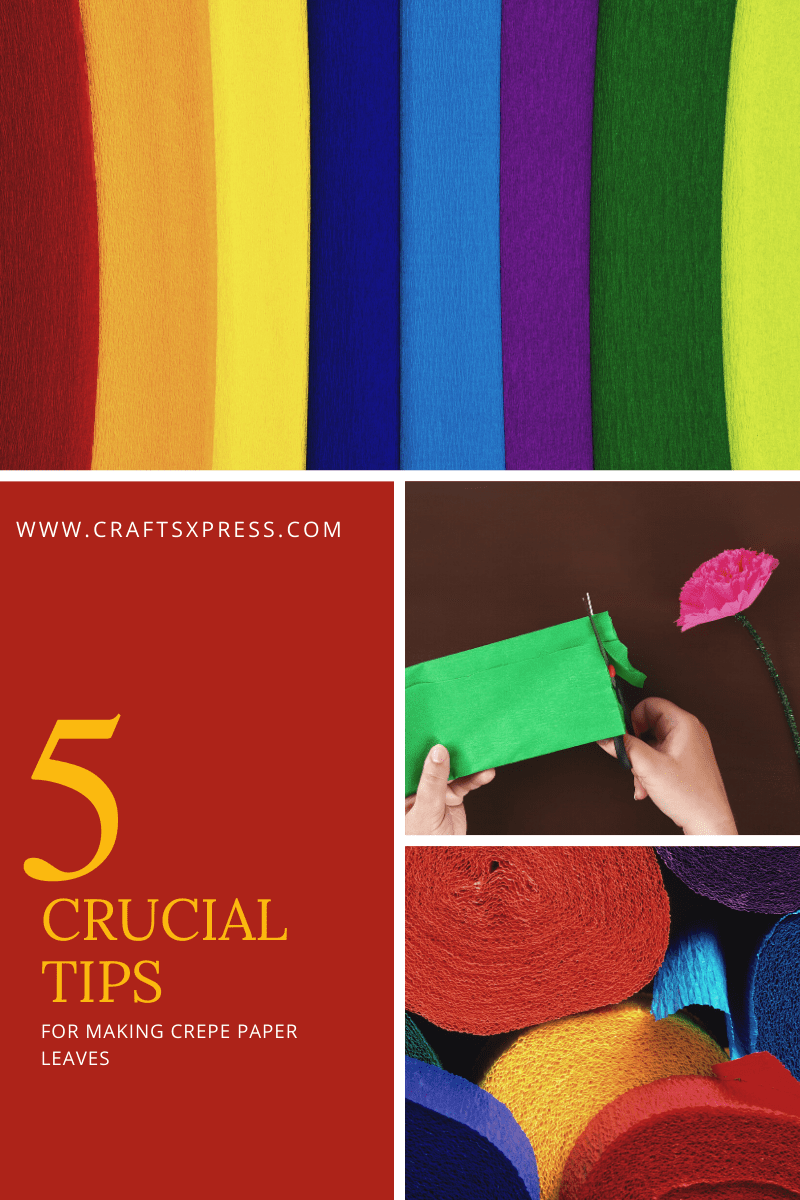
1. Choose the right crepe paper
Crepe paper comes in different qualities and different colours. Make sure you use a good quality crepe paper to make your crafts. Good quality crepe paper gives good quality results.
2. Use streamer rolls to make smaller leaves
If you want to make small leaves, you can also use a streamer roll. So, instead of cutting stripes through crepe paper sheet, you have to use the streamer roll as the sheet.
3. Use a round object to draw out the shape
If you can’t draw out the shape of the leaf, you can use the side of around object to draw the shape. Take a round object and place it near the folded end of the folded crepe paper. 3/4th of the circle should lie on the paper. Draw the outline using a pencil.
4. Keep all your craft supplies ready before you begin
Make sure you have all the things ready before you sit down to create the paper leaves. It is much more convenient and does not break the flow of work.
5. Keep your work desk dry
This is a rule that you need to follow whenever you are working with crepe paper or any other crafting material for that matter. Water droplets and other liquids tend to stain and discolour crepe paper. Therefore, keeps liquids and fluids away from your work desk where you are making any crafts.
Do Making Leaves out of Crepe Paper Help Kids Become More Focused ?
I’ve been tutoring children online as well as offline from the past many years now. If you feel like, you can see some of my craft workshop pictures conducted at home.
And the one thing that I’ve realised is that involving kids with any activity comprising paper crafts makes them more focused. In fact more and more people are shifting their kids’ interests from social media and video games towards more DIY friendly crafts.
As a parent of two decent boys myself, I insist all parents reading this to direct more and more of your kids towards DIY paper crafts. Making crepe paper leaves with your children won’t just direct their energies more productively but will also help you invest quality time with them.
It’ll help forge your bond.
I sincerely hope you were able to follow through the steps in my blog to make crepe paper leaves. Do share your experience with me down below in the comment section. I’ll be happy to read what you guys felt while trying out crepe paper leaves.