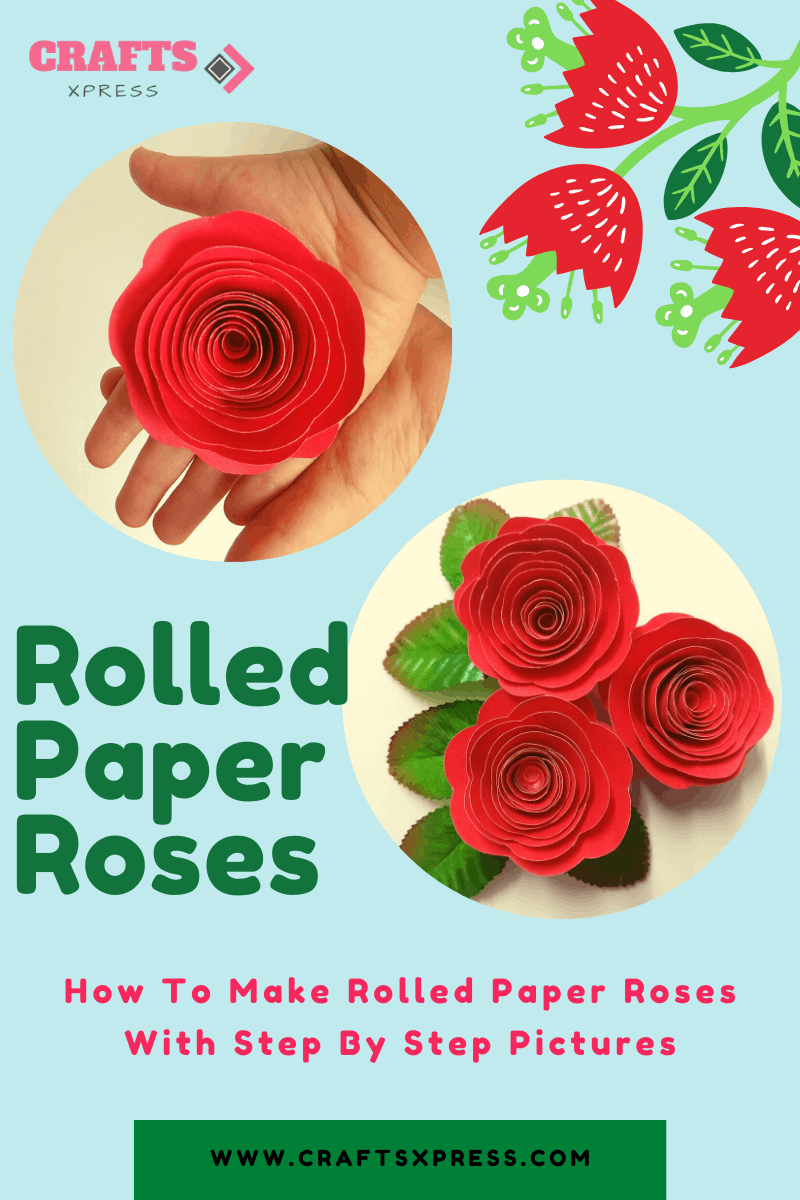
“How to make rolled paper roses” – Have you been thinking about making them for a while ? If yes, let me help you out with them today with a simple and easy to use DIY procedure.
I have been creating rolled paper roses for the past few years now. They are easy to make and look really beautiful. You can gift them to your loved ones or just allow them to add to your home decor.
In my current blog, I will share all everything that you need as a beginner to get started. Feel free to leave your questions or feedback in the comments section at the end of this blog.
How To Make Rolled Paper Roses Easily ?
It’s time to get started and learn how to make rolled paper roses. But first, let me share with you all the supplies needed. Have a look below.
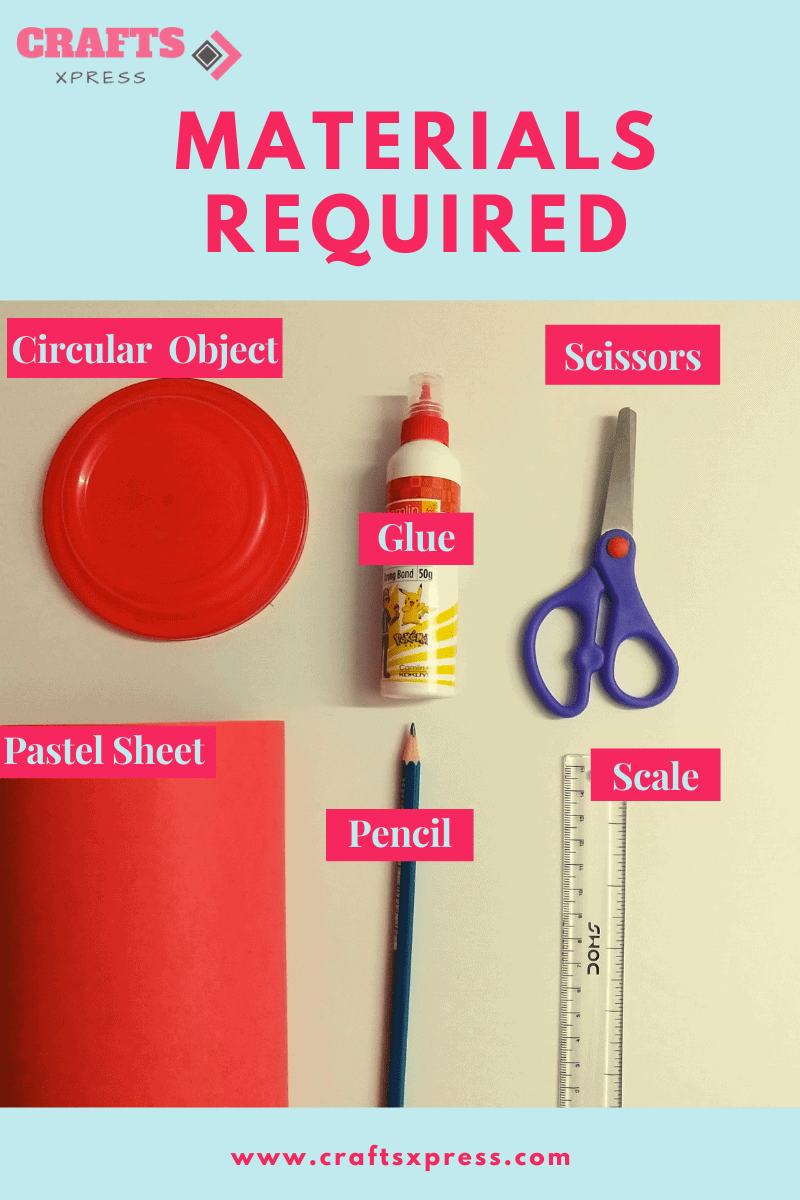
Craft Supplies Needed To Make Rolled Paper Roses
In order to make cute rolled paper roses, you will be needing very easily available craft supplies
| Pastel Sheet
Take a coloured pastel sheet. Choose the colour of pastel sheet as per your liking for making a rolled paper rose. |
| A circular object or compass
Either use a compass or any circular shaped object for marking circles on the pastel sheet. |
| Glue
Use any good quality glue or any decent glue tool. |
| Scissors
A pair of scissors of medium size will be needed. Make sure they are sharp. |
| Toothpick or Pencil
A tooth pick for rolling out paper rose will be needed. In case you don’t have a toothpick, use a pencil. |
| Black Pencil
A pencil for marking the circles will be required. |
| Scale
You will need a scale for the measurement of the diameter of the circle. |
How to Make Rolled Paper Roses in 11 Quick Steps ?
I will explain to you 11 easy steps for making charming rolled paper roses. Just read slowly and you will learn.
Step 1: Place a pastel sheet on your working table
Take a pastel sheet of any color you want. I usually use red colored pastel sheet for making roses.
Required size of the pastel sheet depends on the numbers of flowers you want to make. For example A3 size sheet is sufficient to make 3-4 medium sized roses.
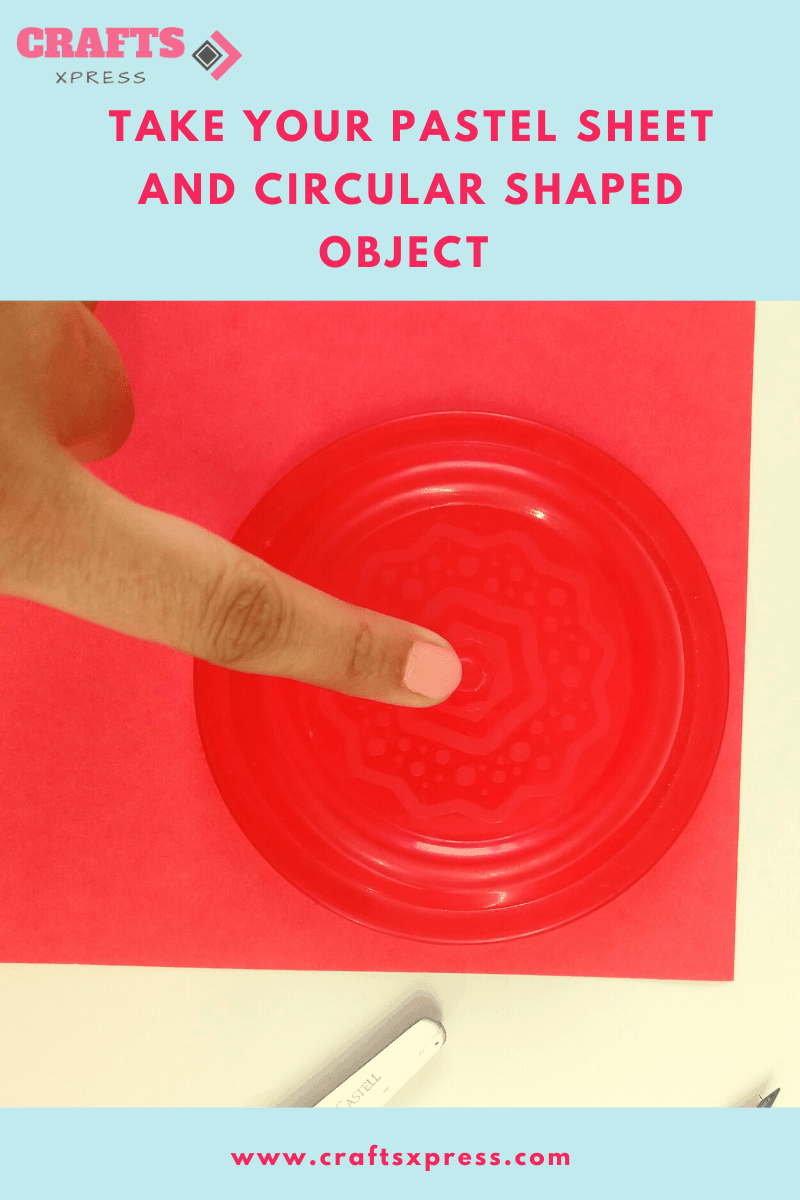
Step 2: Mark a circle on the pastel sheet with the help of a circular object
Take any circular shaped object for making the circles on pastel sheet. I usually use a lid form one of my kitchen containers. You can also use a compass.
Place the circular object on the pastel sheet and then mark a circle with the help of pencil.
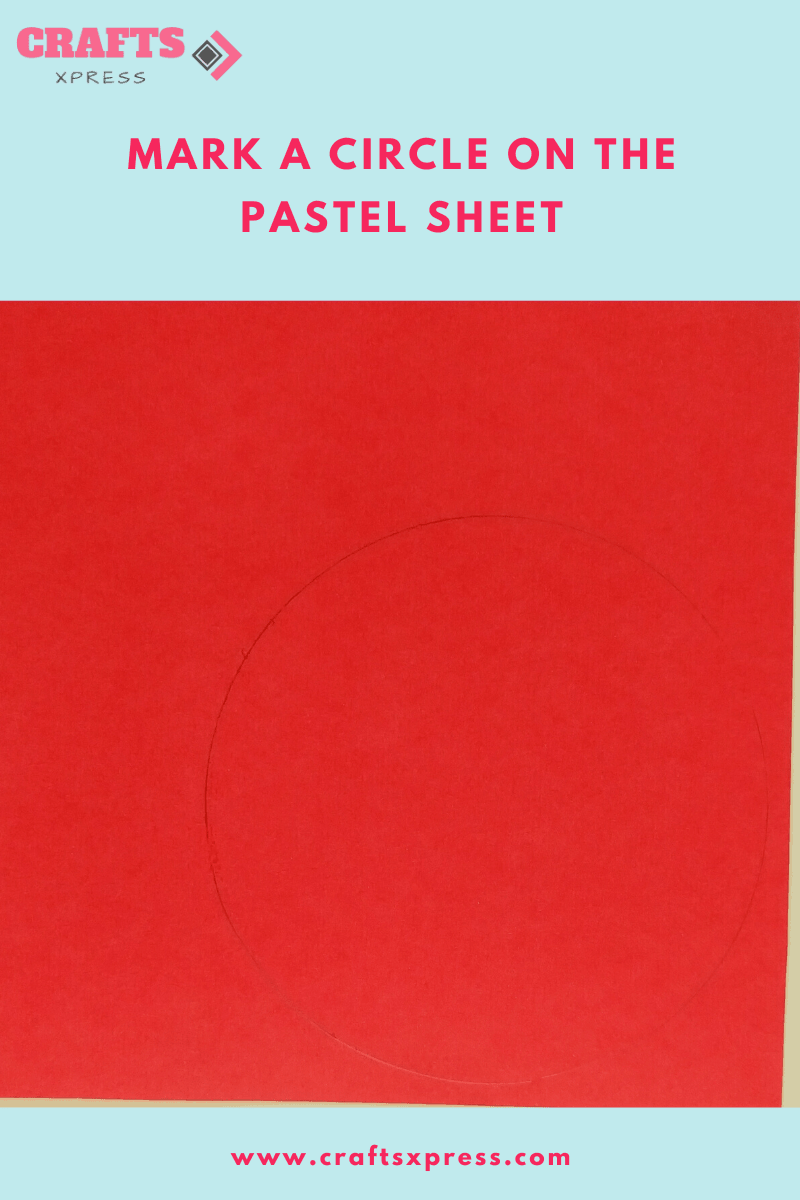
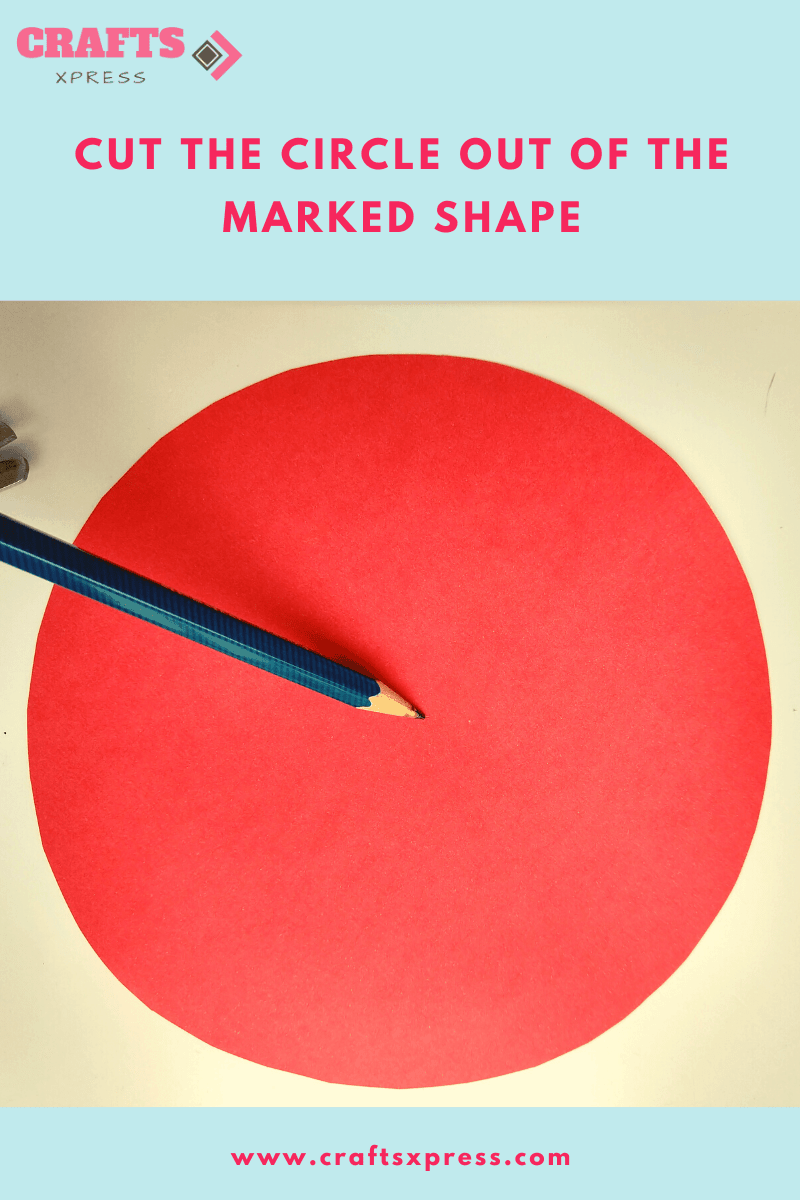
Step 3: Cut the Circle out of the marked shape on the pastel sheet
After marking, cut out the circle by using scissors. You will need one circle for one rose. So cut the number of circles according to the number of roses you are going to make. The diameter of my circular cut out is about 11 cm.
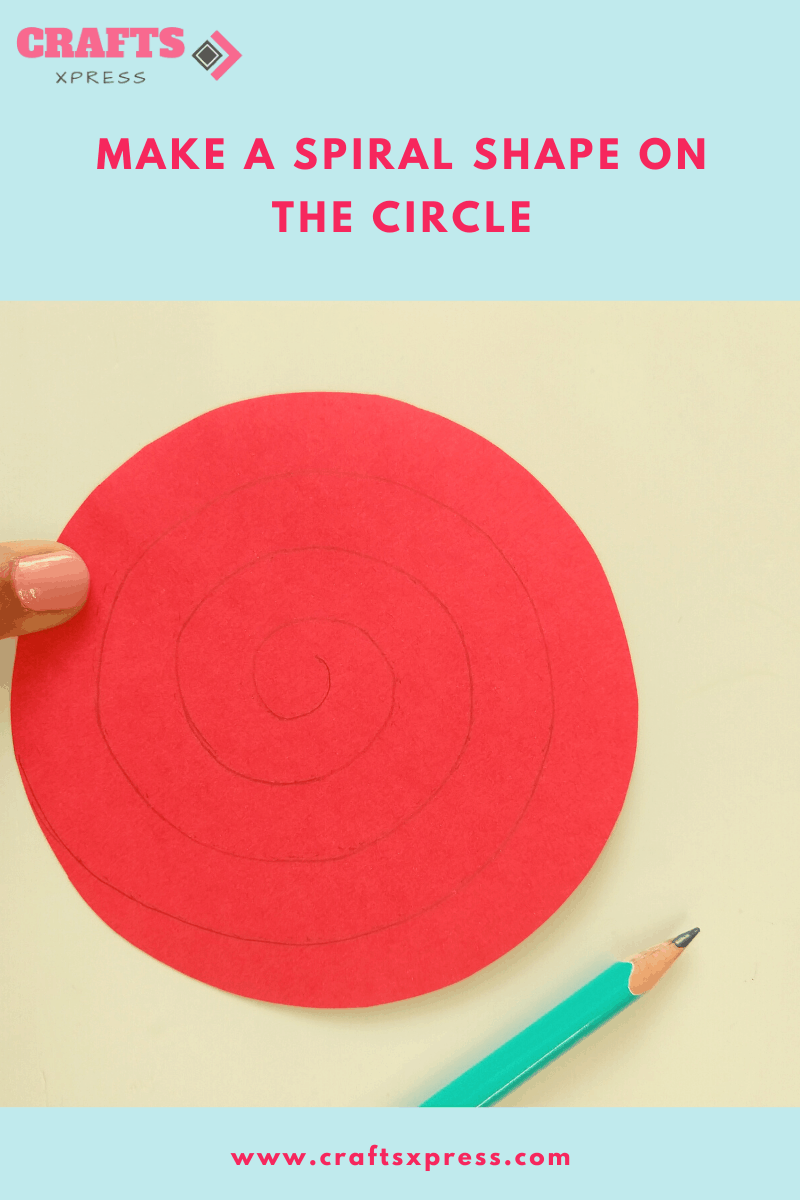
Step 4: Make a Spiral shape on the circle
Now that you are ready with the circles, mark spirals on the circles. Spiral shape is like a coil.
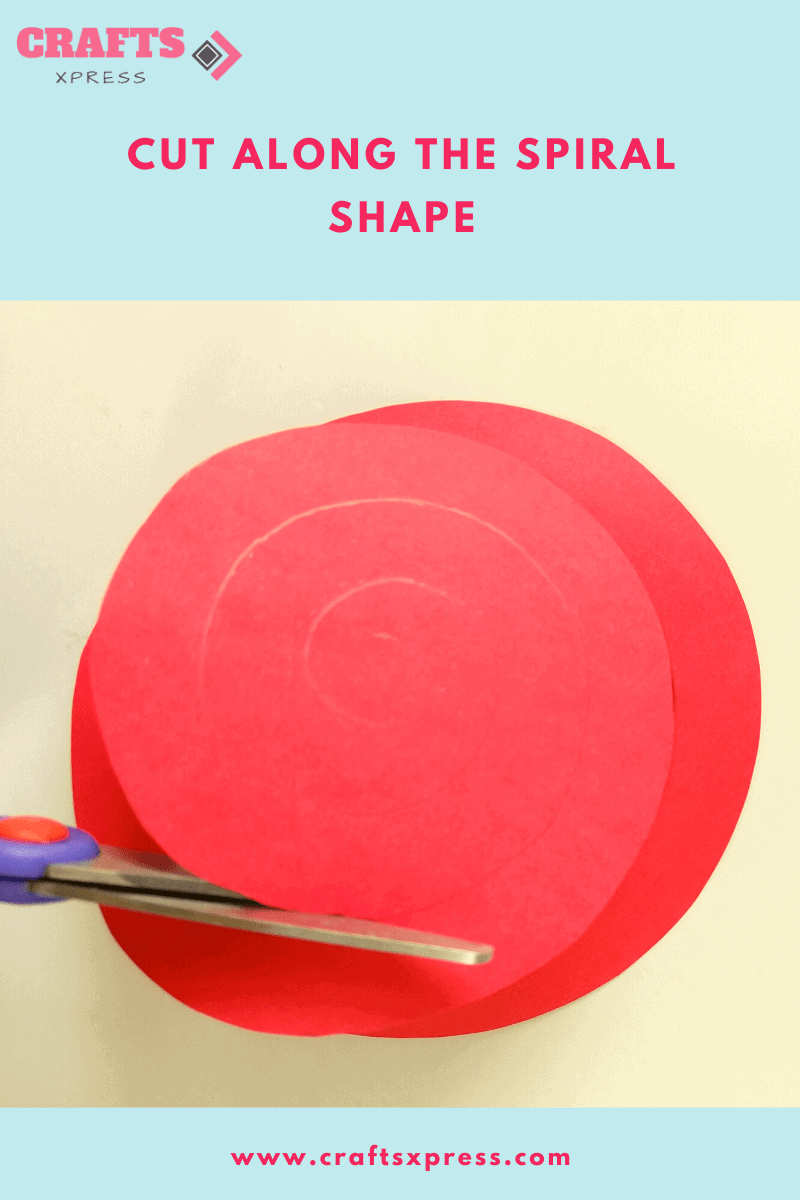
Step 5: Cut along the spiral shape
Now cut the circles according to these spiral path that you have just made on your circles. When you pick up outer end of this cut out, it will look like a spring.
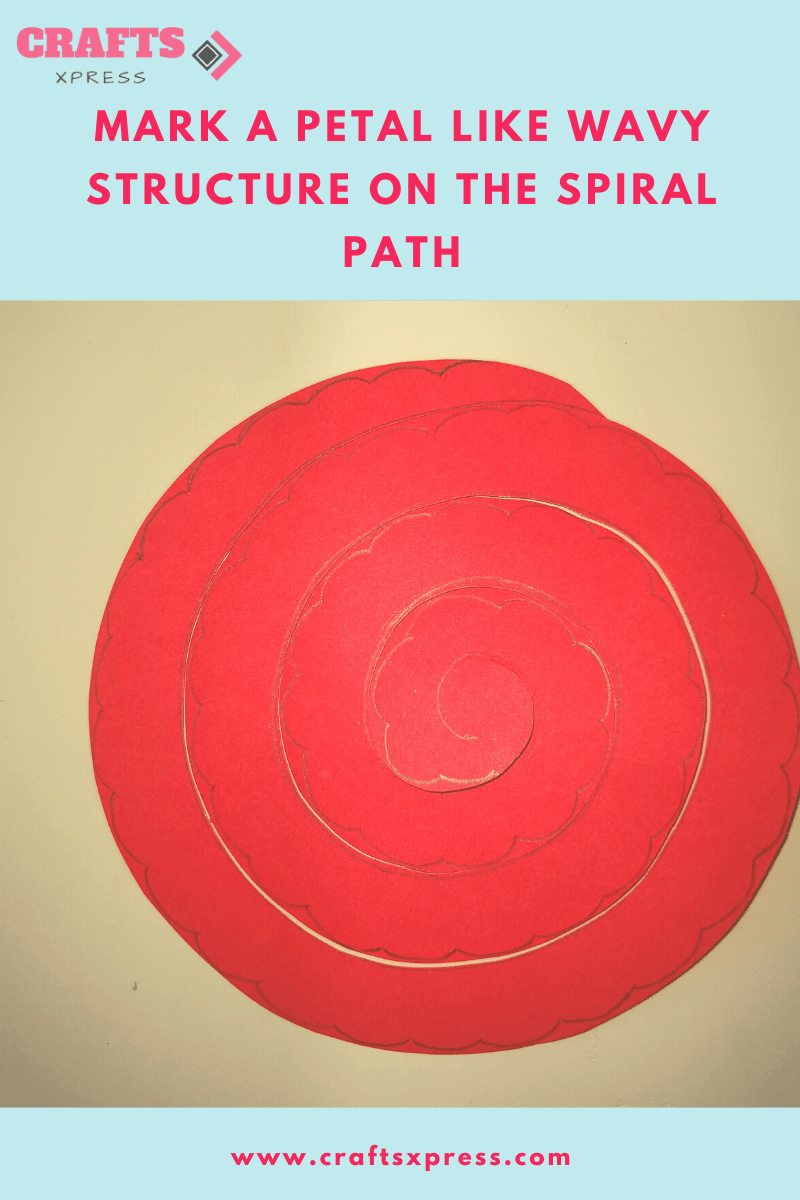
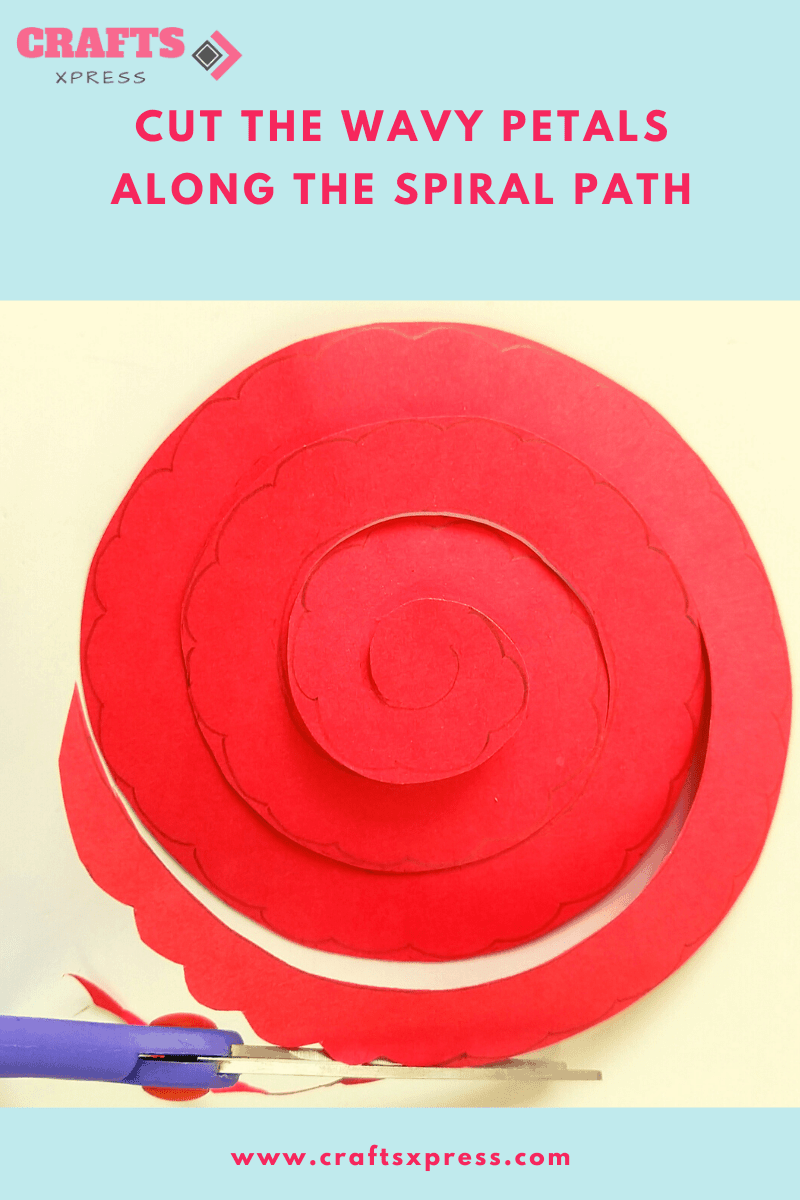
Step 6: Mark a petal like wavy structure on the spiral path
Starting from the outer end mark a petal like small structure on this spiral path. Or simply you can make wavy line through this spiral path.
Step 7: Cut the wavy petals on spiral the path
Further, cut through the wavy curve. After cutting circle like this, now you are very close to completion of your rose.
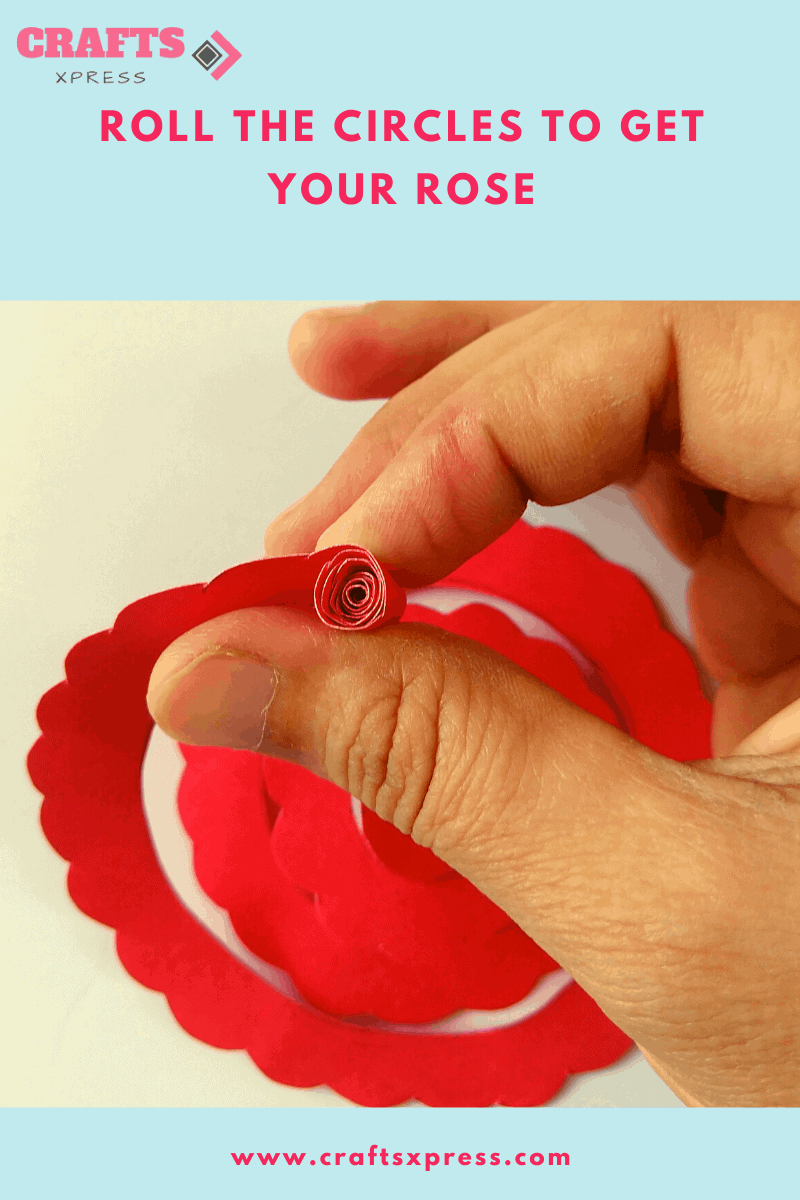
Step 8: Roll The Circles
After getting these spiral shapes cut out, pick outer end of this cut out. Put one end of a toothpick on it. And start rolling it in inward direction while paper will start wrapping around the toothpick. Likewise just roll out complete spiral shapes cut out till the inner end.
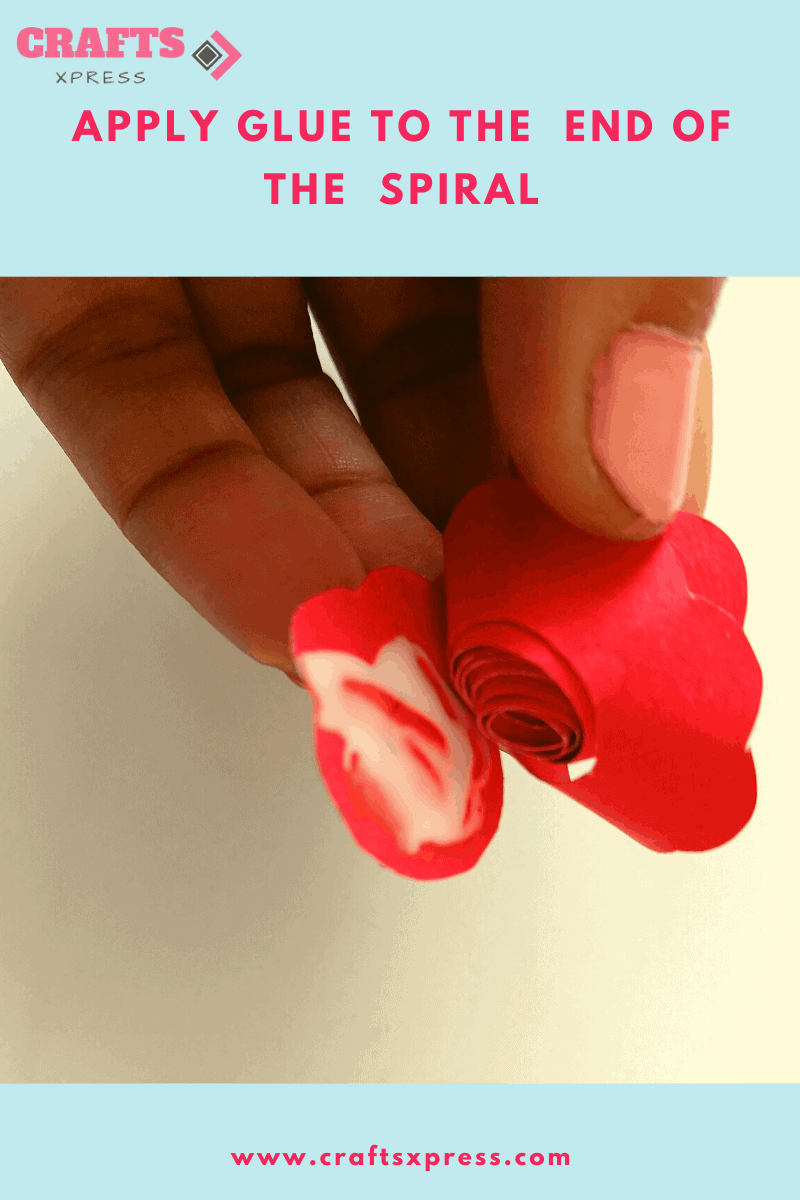
Step 9: Apply Glue to the inner end of the spiral
Hold your rolled paper carefully and take out the toothpick from it. Now apply glue on the inner end of the spiral shaped cut out. Paste the rolled part on glued part .
Step 10: Hold And Wait
After pasting, you should hold the rose for a while. If you are using glue tool, you have to hold it for a few seconds. But if you are using glue you have to hold it for a little longer.
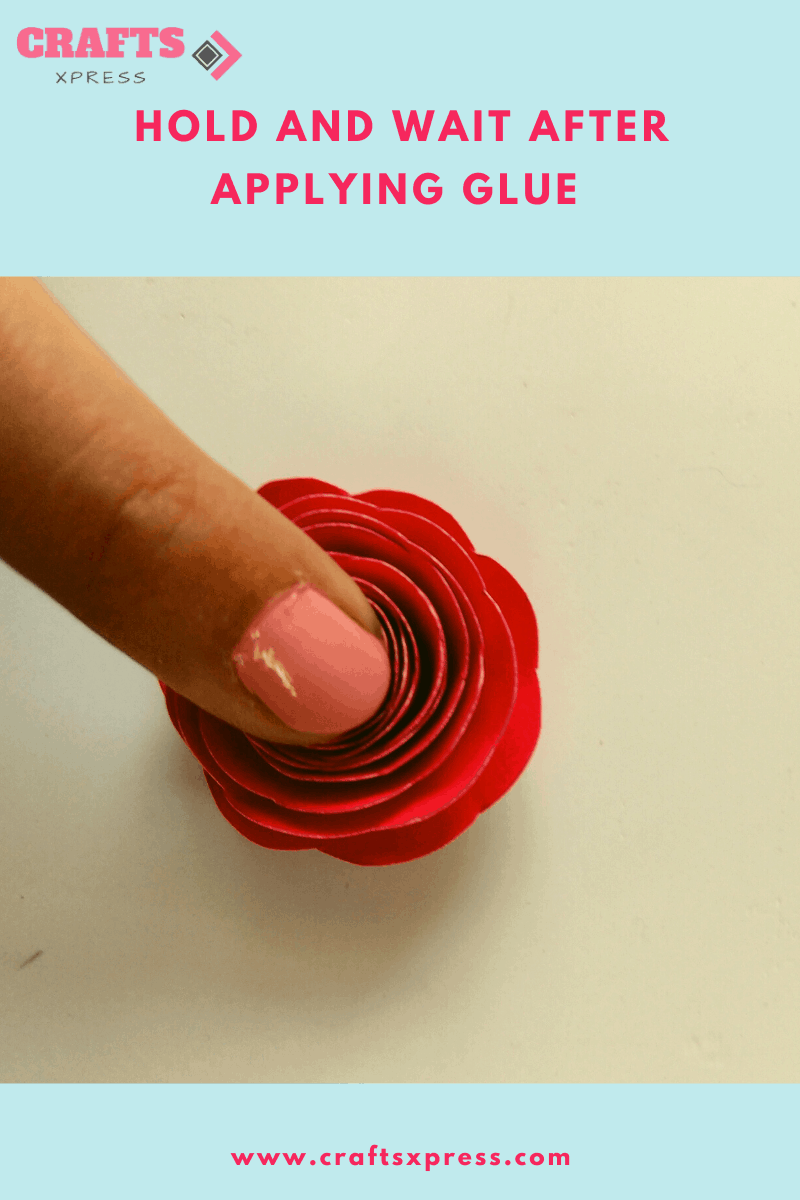
Step 11: Let the Rose Dry
Wait for a few seconds while holding the rose. Let it dry. Your rolled paper rose or roses are now ready.

I hope you were able to create beautiful rolled paper roses using the procedure above.
DIY Tips For Creating Rolled Paper Roses
Here are a few handy tips that will help you in creating better DIY rolled paper roses.
| Never use a crepe paper for making rolled paper roses
Do not use a crepe paper for making rolled paper roses. Instead, use pastel sheet or chart paper. Crepe paper is not at all suitable for making rolled paper roses and must be avoided. |
| Cut the spiral carefully
While cutting the spiral, focus on the movement of the hand holding the circles. This is a crucial step and must be taken seriously. |
| Wait for some time while pasting the rose
Wait for few seconds while pasting the rose. If you leave it then you will loose your rose. And then you have to roll it again. |
| Avoid cutting more than one circle at a time
Do not try to cut more than one circle at a time. Reason being, this is important for having smooth edges. If you cut all of them together, the edges will be rough. |
| Mark the spiral carefully
Mark spirals on the circles carefully. Else, if you made any mistake at this step, it will be harder for you to proceed. |
| Be mindful of the appearance of the small rose
If you want give a tightly packed appearance to your petals then do not make your hold loose while pasting the rose. But if you want a loosely packed appearance to your petals you have to make your hold a little loose while pasting the rose. |
| Variations in size
For creating different sizes for roses, you have to do a little variation in the size of the circle. For example for a smaller rose, cut a small circle and for a bit larger one cut a larger circle. |

As DIY rose artists who are just starting out, you can make numerous other version of paper roses as well. Here are a few ideas for you that I will be listing below.
3 Beautiful DIY Paper Rose Ideas for Beginners
Since you have an interest in making rolled paper roses, do try your creative minds at the following three DIY paper rose forms as well.
Giant Paper Rose
What is more cuter than a giant paper rose ? A child posing with it. Each time I create a giant paper rose, I make my kids pose in front of it so as to witness the magnificence of the humongous size of that rose.
Most people feel that giant paper roses are difficult for beginners. But trust me, they aren’t hard to make at all. All you need is a little patience. The outcome is always so beautiful that you keep staring at it for hours.
Making DIY giant roses is a very satisfying craft. You can use these stunning roses in many ways. Use them for self decor or for birthday parties or even for gifts. Anybody receiving them will feel elated.
Small Paper Rose
Small paper roses are pretty, dainty and easy to make. In fact, I have written an entire blog explaining all the step by step pictures needed for creating a small paper rose. Best part is that is almost like making a rolling paper rose.
There are a lot of methods that one can use to make small paper roses. But I always go for the rolling paper method because it is simple to make them that way.
Having said that, you can surely choose to opt for other methods as well. But the result won’t be half as alluring. On the contrary, small paper roses that are created using the rolling paper method are gorgeous to have around.
Old Paper Rose
Paper roses from old book pages can be used for making a beautiful bouquet, a wreath and also for decorating a gift pack with antique look.
Making paper roses from old book pages is a good idea when you’d like to try some paper craft instantly but can not go for purchasing material. I’ve been doing it from the past so many years now.
Making paper roses from old book pages is quite simple. Most of the material required for this craft is easily available at home. Take any old book which you are not going to use anymore.
I hope that I was able to help you learn how to make rolled paper roses. Let me know how they came out. If you any questions or concerns, please drop them in the comments section below.